Levers Lab
Summary:
In this seventh grade science lesson, students learn about levers and use them to make work easier.
Student Learning Goals & Objectives:
After this lesson, students will be able to:
- Define lever and fulcrum and identify examples
- Understand that the longer the lever, the easier work becomes
Assessments:
During this lesson, students will:
- Discover the purpose of levers using different examples and recognize the fulcrum in different examples (including their own joints)
- Evaluate differing lever lengths to determine which lever makes work easiest
Materials & Prep:
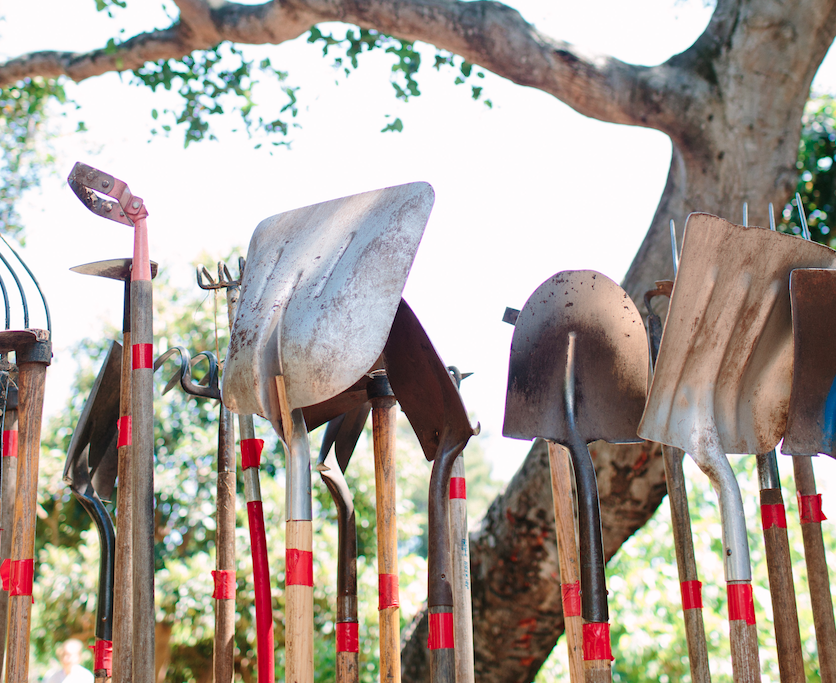
- Three examples of levers used in the garden (shovels of different lengths, wheelbarrow)
- Three large beams
- Three Fulcrums on which to place the beams
Before you begin
- Collect all the materials and create the lever station by following the next two steps
- Set up three see saws, each with the fulcrum in a different location
- Gather examples of levers from the garden
Procedure Steps:
FULL GROUP, 5 MINUTES
1
AT THE OPENING CIRCLE
- Welcome students and introduce the lever as a way to make work easier.
- Divide the class into 4 groups for garden jobs.
- Rotate each group through the Lever Station during garden work time.
SMALL GROUPS, 60 MINUTES
2
AT THE LEVER STATION
- Ask students what a lever is and why it might be used.
- Point out that leverage helps people do work with less effort.
- Remind students that work means moving an object over a distance.
- Explain some simple machines that help us do less work:
- The lever
- The wheel
- The inclined plane
- Define the 3 basic parts of a lever:
- The load
- The fulcrum
- The place where effort is applied
- Ask students how many people they think they can pick up at one time using no tools.
- Begin at the beam with the most leverage and have several students stand on the opposite side.
- Challenge one student to lift the other students on the beam with one hand, by simply pushing down on the other end of the lever.
- Identify the load (students standing on beam) and the effort (student pushing down on lever).
- Discuss what happens.
- Repeat the demonstration with the next beam where the fulcrum is closer to the center.
- Ask students why it is harder to lift students on this lever (because the lever is shorter).
- Repeat on the third lever where the fulcrum is moved to create the least leverage.
- Experiment with different loads and effort by varying the number of students on each end of the lever and observe the results.
- Switch focus to the garden tools.
- Using shovels of three different lengths, have students try moving dirt with each one.
- Ask students to identify the fulcrum.
- Ask students which shovel has the most leverage.
- Demonstrate how the wheel of a wheelbarrow acts as a fulcrum.
- Demonstrate how to lift something by bending your arm, using your elbow as the fulcrum.
- Ask students to compare the elbow and other joints to levers in the garden.
- Guide them towards identifying:
- The load (hand)
- The effort (bicep)
- The fulcrum (where elbow rests on hand)
- Quote Archimedes: “Give me a lever long enough and a fulcrum on which to place it, and I shall move the world”.
- Prompt students to think about the meaning of this quote (the longer the lever, the more you can lift).
FULL GROUP, 5 MINUTES
3
AT THE CLOSING CIRCLE
-
Have students serve a seasonal fruit, vegetable or herb tasting.
Vocabulary:
Lever
Fulcrum
Work
Load
Effort
Contributors:
All lessons at the Edible Schoolyard Berkeley are developed in collaboration with the teachers and staff of the Edible Schoolyard and Martin Luther King, Jr. Middle School.
Learning Cycle and Think-Pair-Share discussion routine © The Regents of the University of California. All materials created by BEETLES™ at The Lawrence Hall of Science.
This lesson follows the BEETLES Project’s Learning Cycle (Invitation-> Exploration -> Concept Invention -> Application -> Reflection) and uses their Discussion Routines(Think-Pair-Share, Whip-Around). All are highlighted * with an asterisk for easy identification. See the documents BEETLES Discussion Routines and BEETLES Learning Cycle included in Resources below for more information.